VORABEND
Schritt-für-Schritt-Anleitung zum Basteln mit EVA für Anfänger.
Wie wir bei handcraftcool bereits mehrmals gesagt haben, ist EVE eine der authentischsten und einfachsten Texturen, mit der man arbeiten kann. Heute werden wir …
Werbung
Wie wir bei handcraftcool schon mehrmals gesagt haben, ist EVE eine der wahrsten und einfachsten Texturen, mit denen man arbeiten kann. Heute erklären wir Ihnen, dass wir in diese Welt der Handwerkskunst einsteigen wollen, wie Sie Schritt für Schritt beginnen können
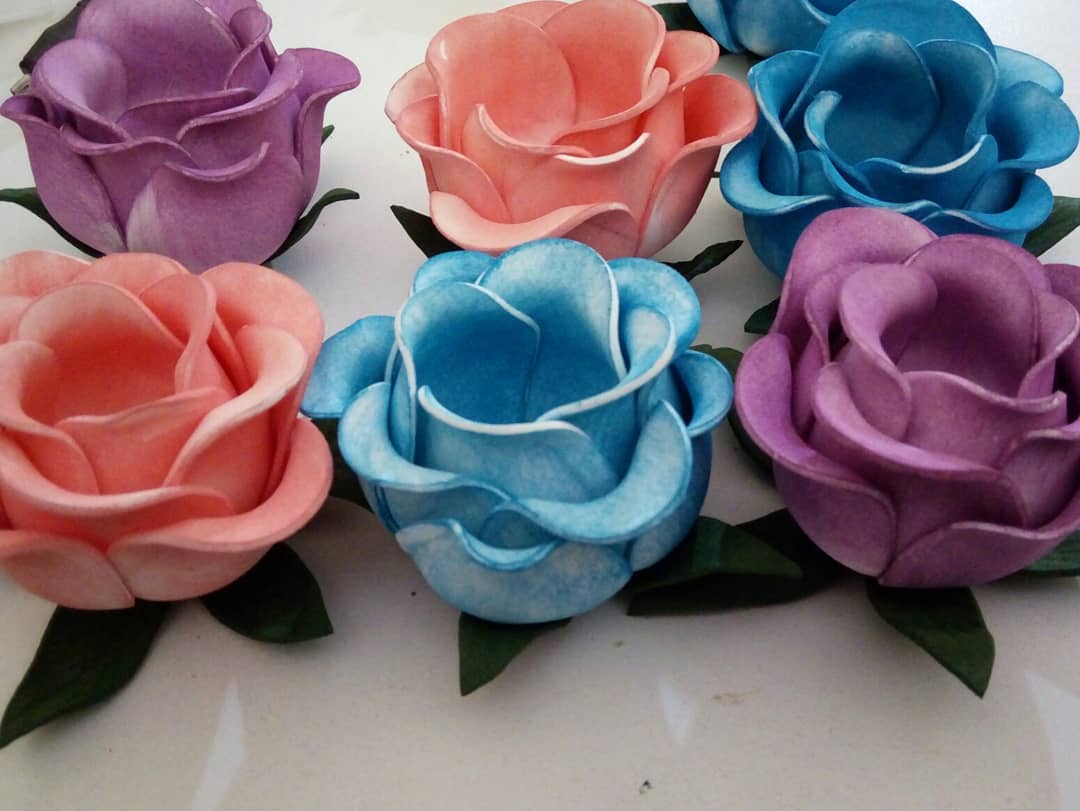
Heute stellen wir von Handcraft Cool Ihnen eine sehr schöne Basteltechnik vor, die Ihnen viele Komplimente einbringen kann. Es handelt sich um ein einfaches und praktisches EVA-Bastelprojekt, das Sie in wenigen Stunden fertigstellen können. Lernen Sie Schritt für Schritt, wie Sie dieses Bastelprojekt auch zu Hause durchführen können.
Benötigte Materialien:
EVA
Heißkleber oder Sekundenkleber
Karton oder Papier
Schere
Kreisform
Wenn Sie eine einfache Google-Suche durchführen oder in Geschäften, die auf EVA-Dekoration spezialisiert sind, finden Sie Tausende von Blumenformen aus EVA. Von den oben genannten Artikeln brauchen Sie also nur die Schere. Schließlich können Sie Ihrer Fantasie freien Lauf lassen und die Idee fertigstellen.
Diese Formen dienen dazu, das EVA richtig auszuschneiden. Legen Sie die Form einfach auf das gesamte Stück EVA, das pro Meter verkauft wird, und markieren Sie es mit einem Bleistift oder Kugelschreiber. Dann schneiden Sie entlang der entstandenen Linie. Eine andere Möglichkeit besteht darin, die Form auf das Stück zu legen und über die Formlinien zu ritzen. Die Markierung bleibt auf dem EVA.
Auf diese Weise ist es interessant, weil einige Linien der Form nicht an den Seiten, sondern in der Mitte verlaufen. Eine Blume hat beispielsweise Blütenblätter, aber auch eine Blütenmitte. Kratzen Sie einfach etwas fester, damit die Markierung im EVA bleibt.
Basteln mit EVA Schritt für Schritt
Schneiden Sie zunächst ein Stück Papier oder Karton mithilfe einer beliebigen runden Form in eine runde Form. Es kann eine Tasse, ein Becher, ein Deckel oder was auch immer Sie für die Form benötigen sein. Machen Sie das und übertragen Sie es auf EVA, indem Sie es 2x schneiden.
Der Boden sollte etwas robuster sein, also kleben Sie die beiden runden EVAs, die Sie ausgeschnitten haben, auf. Wenn Sie eine Pappform verwenden, können Sie diese auch überlappend aufkleben, indem Sie die runden EVAs, die Sie aufgeklebt haben, aufeinander legen. Dadurch wird der Boden der dekorativen Teekanne noch widerstandsfähiger.
Schneiden Sie aus dem Hintergrund, den Sie mit EVAs und Karton erstellt haben, ein Stück farbiges EVA aus, um den „Körper“ Ihrer Teekanne zu bilden. Nehmen Sie die richtigen Messungen vor und schneiden Sie ein Stück mit der für Ihre Verzierung passenden Länge und Höhe aus. Wickeln Sie dann einfach das EVA darum, während Sie es mit dem Kleber festkleben.
Befestigen Sie mit diesem Griff den losen Oberkörper. Befestigen Sie dazu die beiden oberen Enden des EVA, das Sie herstellen, am Körper und befestigen Sie die beiden Teile mit dem Griff, indem Sie den Griff aufkleben. Die coolste Methode besteht darin, den gesamten freiliegenden Teil auf den Verbindungsteil des EVA-Körpers zu kleben und die Verbindung mit dem Griff zu verstärken.
Schneiden Sie einen EVA-Streifen mit einer Breite von 15 cm mal 3 cm am Anfang und einer schmaleren Breite zum Ende hin ab, was ungefähr 1,5 cm entspricht. Eine Seite ist gerade, die andere Seite sollte wellenförmig sein. Legen Sie das Blatt Papier über den EVA-Streifen und bügeln Sie es mit einem heißen Bügeleisen, damit das EVA sehr weich wird. Sie rollen diesen Streifen beginnend an der schmalsten Stelle auf.
Zum Schluss können Sie die Seite ein wenig nach außen falten, um den schönsten Effekt der Rosenblätter zu erzielen. Kleben Sie das letzte Ende auf die Innenseite. Schneiden Sie das grüne EVA in Blattform aus und kleben Sie es um die Rose, die Sie gemacht haben. Sie können einen grünen Strohhalm als Stiel der Rose verwenden oder ihn so lassen und auf eine Oberfläche kleben, sodass die Rose nur als Dekoration dient.
Trendthemen

WhatsDelete: So stellen Sie gelöschte WhatsApp-Nachrichten mit der App wieder her
Erfahren Sie alles über die WhatsDelete-App und finden Sie heraus, wie Sie gelöschte WhatsApp-Nachrichten einfach wiederherstellen können. Probieren Sie es aus!
Weiterlesen
DIY-Heimdeko: Handgefertigte Projekte für jeden Raum
Lassen Sie Ihrer Kreativität freien Lauf und verwandeln Sie Ihr Zuhause mit DIY-Dekor. Entdecken Sie handgefertigte Projekte für Sie! Lesen Sie weiter und erfahren Sie mehr!
WeiterlesenDas könnte Ihnen auch gefallen
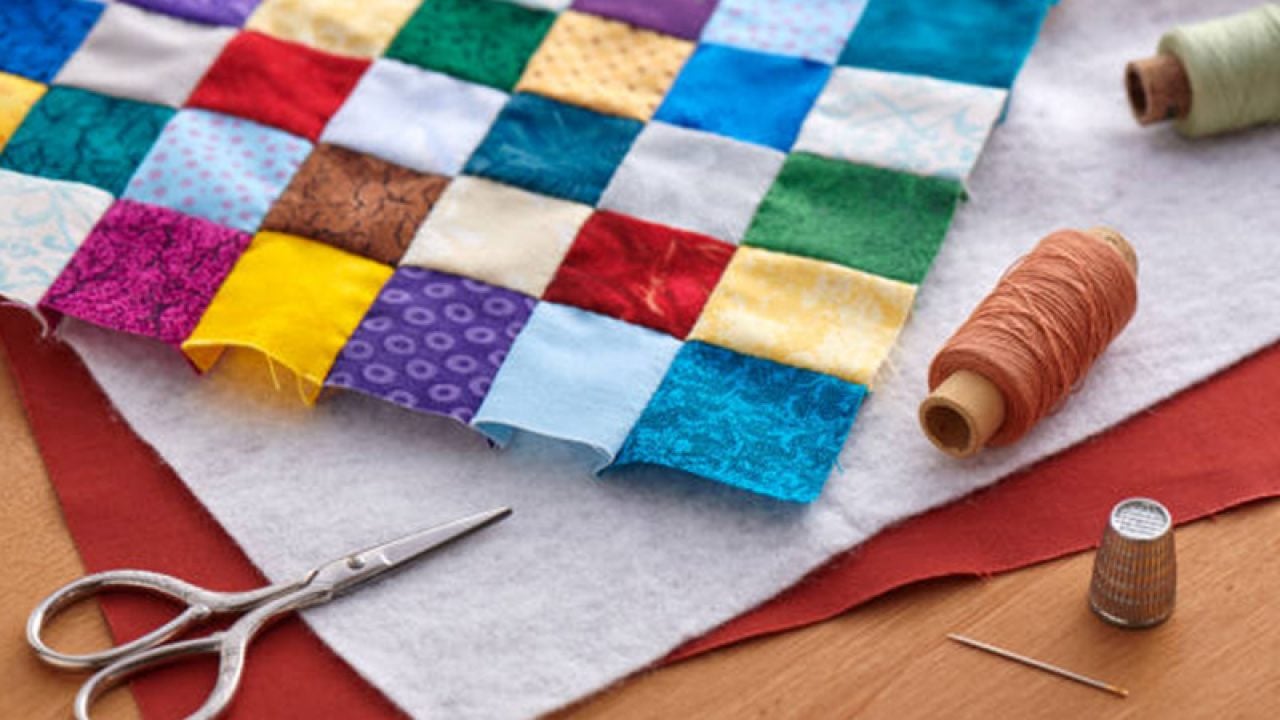
Patchwork für Anfänger
Die beste Art, seine Zeit zu verbringen, ist das Basteln, ideal zum Entspannen. Aber diese Art von Arbeitsbuch kann auch eine sehr gewinnbringende Übung sein. Wie wäre es also, ein Profi zu werden und, wenn es in Ihrem Interesse ist, damit Geld zu verdienen?
Weiterlesen
NASCAR-Rennen: Wie kann man sie ansehen?
Machen Sie mit und verfolgen Sie NASCAR-Rennen live von überall aus. Schauen Sie sich die besten Streaming-Kanäle an und verpassen Sie kein Rennen!
Weiterlesen